Null

Show Posts

This section allows you to view all posts made by this member. Note that you can only see posts made in areas you currently have access to.


Messages - Chad89GT

Pages: [1] 2 3 ... 5
1
Boats For Sale / Re: Center mounted Gas tank
« on: January 15, 2019, 01:41:37 PM »
Location

Sent from my moto z3 using SoCal Jet Boats mobile app

Center... duh...   ;D

Sorry, couldn't resist  ;)

2
Engine Mechanical / Electrical / Re: Question?
« on: December 20, 2018, 04:14:27 PM »
MLS head gaskets are not very forgiving to an imperfect surface.  It's possible they can weep if the block and heads weren't specifically surfaced for their correct finish.  Unless you're running boost they're also overkill.  A composite gasket with stainless fire ring like the 17068 should be a good fit.

I agree that silicone on the head gasket is a no-no.

A light silicone smear around the water ports is a good idea on the intake and corresponding mating surface on the heads, with the intake gasket between the smears :)

3
Engine Mechanical / Electrical / Re: Winterizing
« on: December 20, 2018, 04:05:41 PM »
It's forecast to get into the mid-60s here next week... think I should drain my fluids and install a block heater?

 ;D ;D :P ^-^

4
Engine Mechanical / Electrical / Re: Piston cylinder clearance
« on: December 19, 2018, 10:51:54 AM »
Key word in your post: Assumed.  Any number of things can cause the engine to exceed that assumed number.  In practice (IMHO) it's better to build in a safety margin.  Running the minimum clearance on any application is just waiting for disaster.  Sure, if you can keep the engine within a specific parameter 100% of the time it'll be fine.  But we all know "sh!t happens" In the real world.  Something clogs, something goes out of adjustment, whatever, and now you're outside those assumed parameter.  Now what?  That comes down to personal preference:  Would you rather the engine have a little extra clearance and have a chance at surviving when said sh!t occurs, or do you run the minimum spec and run a much greater risk of major engine damage? 

People get so tied up on having too much ring end gap when reality is isn't all that critical.  There are at least 2 studies I've heard of from industry people that prove the same.  That's good enough for me :)

5
Engine Mechanical / Electrical / Re: Piston cylinder clearance
« on: December 11, 2018, 06:45:49 PM »
Food for thought on ring end gaps....

I was just at SEMA 2018 talking about this exact subject with one of the reps from United Engine Machine (ICON, Kieth Black, etc).  He mentioned he used to work at Perfect Circle so I asked him what he thought about larger ring end gaps as I've always added a few thousandths to the recommended spec for safety and have never had a problem with blowby.  He said PC actually ran tests on end gaps and in a dynmaic running engine they could not measure any difference in blowby from a 0-gap ring on up past .040" gap.  Static leakdown tests will disagree, but in a running dynamic engine there was ZERO measurable blowby difference.  Honing technique (pressure, speed, final finish, etc) has a much greater affect on ring seal and blowby.  The take away for me, and he concurred, was that larger gaps have no performance drawback but will save your motor if it gets hot.  I thought it was interesting the way I was taught by the "old timer" jived with a manufacturer's test.

I've always set pistons a hair on the loose side as well.  When I say hair I mean +.0005" or so.  Same rationale, building durability and a little wiggle room into the clearances.  I probably would be more conservative on a short skirt piston but Speed Pros have a long skirt and are much more forgiving.  I wanna say we put .0055" into my buddy's 429 Ford, but his compression was up over 11:1 and he runs it HARD.

6
Random Boat Parts For Sale / Re: Fiberglass rear bench double bucket
« on: August 03, 2018, 03:34:47 PM »
Willing to ship the buckets to Hawaii?  :)

Gonna guess your lack of reply is a "no".  Bummer, I have a shipment leaving Hawthorne in a couple if days these could have gone with.  Oh well, GLWS.

7
Boats For Sale / Re: Craigslist & ebay boats
« on: August 02, 2018, 02:40:08 PM »
Making some huge power! And has some pvc plumbing fittings on it....im sold!

https://detroit.craigslist.org/mcb/boa/d/78-taylor-jet-boat/6655871061.html

Sent from my SM-J727T using SoCal Jet Boats mobile app

1400hp with a single 4bbl, mechanical fuel pump and tiny fuel lines... um, yeah... OK.

8
Random Boat Parts For Sale / Re: Fiberglass rear bench double bucket
« on: July 31, 2018, 04:30:33 PM »
Willing to ship the buckets to Hawaii?  :)

9
Project Boats For Sale / Re: 75 miller
« on: December 14, 2016, 01:07:53 PM »
Come down here and get it lol.

LOL!  Actually, I'd have to come "up" and to the right to get it.... then figure out a way to ship it back to Honolulu!  Don't think I can paddle that far. :-D

10
Engine Mechanical / Electrical / Re: BBC head question
« on: December 14, 2016, 12:57:05 PM »
If you've got the coin to pony up for a $2000+ set of heads, aftermarkets are the way to go.  Closed chamber oval ports can make 500+ hp which is enough for most people and cost a fraction of aftermarkets... probably less than 1/2.  That $1000+ difference can determine whether some people are on the water next month vs. next year.  Can't build every motor to the exact perfect spec with perfect parts.  Sometimes you need to know when it's "good enough" for the owner's needs.

11
Engine Mechanical / Electrical / Re: BBC head question
« on: December 13, 2016, 12:32:39 PM »
I looked this number up in our ProSIS software and chamber sizes can vary all the way up to 122cc.  You'll need a big dome to make compression with those... not my favorite way to do it.  Closed chambers with flat tops make around 9.5:1.  IMHO if you can pick up some closed chambers for a couple hundred bucks you'll be ahead.

12
Project Boats For Sale / Re: 75 miller
« on: December 09, 2016, 05:11:01 PM »
Boat looks bitchin, wish deals like this came up here!

13
Projects / Re: '72 Tahiti Project #2
« on: December 08, 2016, 01:20:19 PM »
I should add that I'm pretty much pulling the new structure design outta my ass so if someone sees something very wrong please say something, LOL!   :thumbup:

14
Projects / Re: '72 Tahiti Project #2
« on: December 08, 2016, 01:15:07 PM »
Totally know what you mean! Lol

Have her done for summer?

I hope so!  Time is a luxury I don't have a lot of since my teenage son moved in with me.  His homework load is nuts and poor guy inherited my ADHD so it's been a struggle.

15
Projects / Re: '72 Tahiti Project #2
« on: December 08, 2016, 12:54:46 PM »
Look at you! Get down with your bad self! Good job. Looking good.
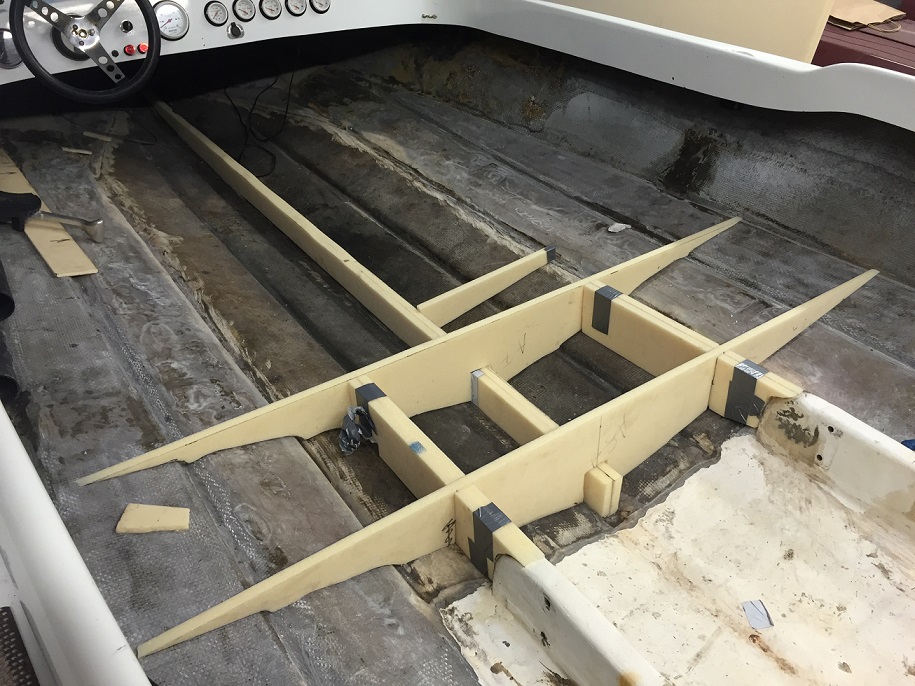
Thanks, man!  I'm just stoked it's no longer coming apart and is finally going back together!  ;D

16
Projects / Re: '72 Tahiti Project #2
« on: December 08, 2016, 12:38:11 PM »
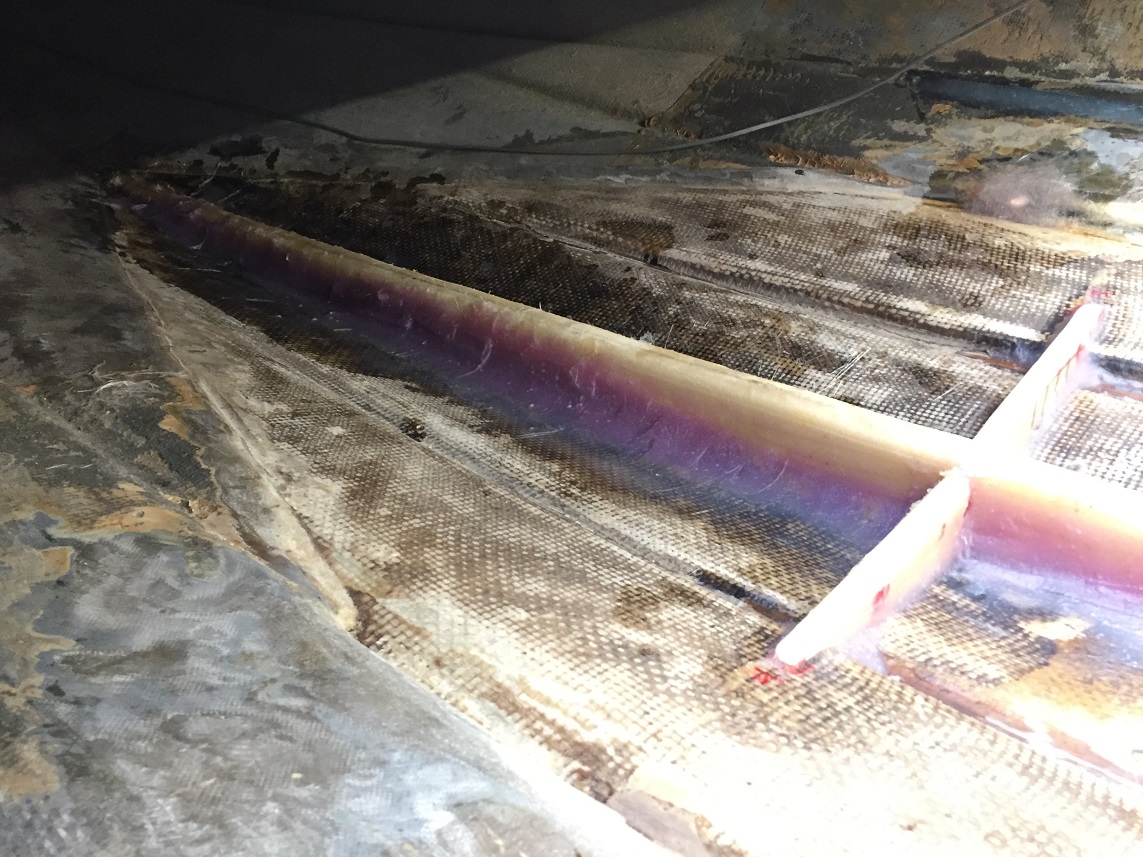
Since then there's been a lot of grinding, sanding and cleaning the hull to prep for new structure.

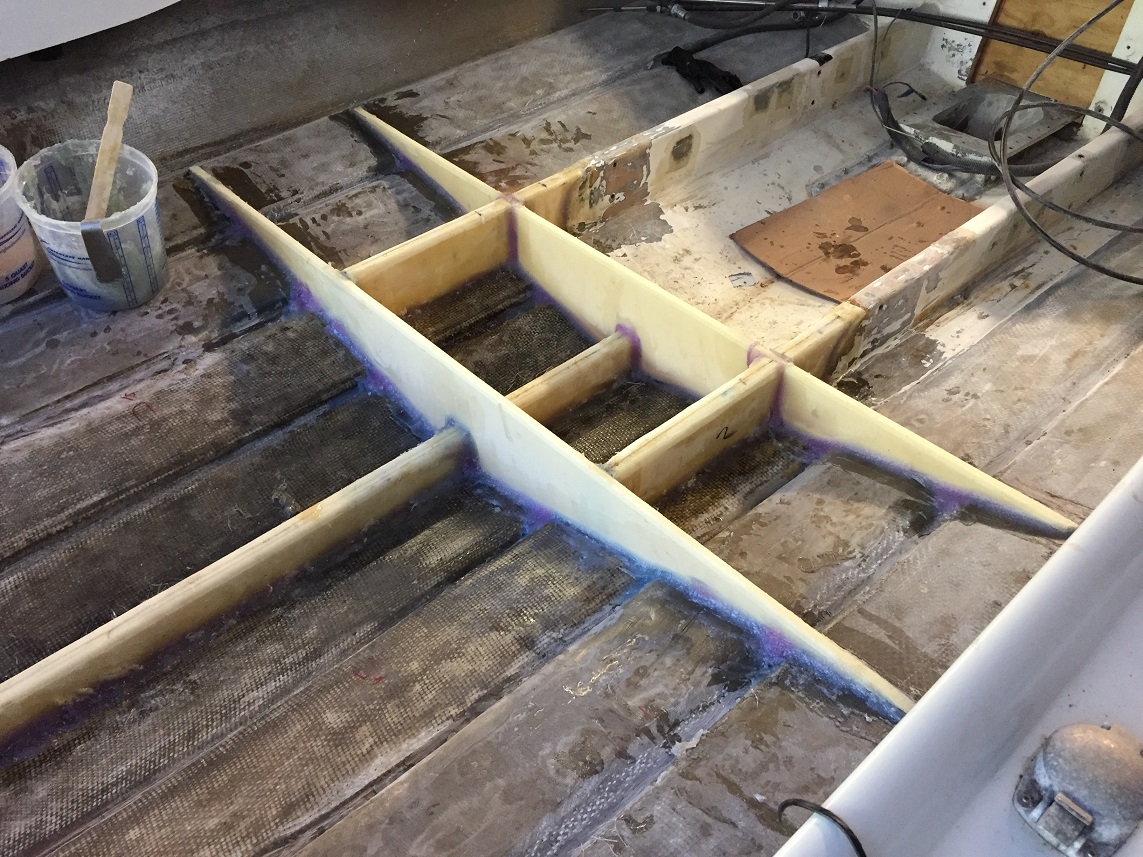
I figured since I had it all ripped out I might as well try to improve the structure a bit.  The thought of adding full length stringers came up but I don't like how high that makes the seats.  I decided to add a short extension to the stringers and create some cross pieces to spread the engine load over the width of the hull.  I also decided I never want to do this again so ponied up the coin to use CoreCel structural foam instead of wood.

Here's a rough layout of the design:


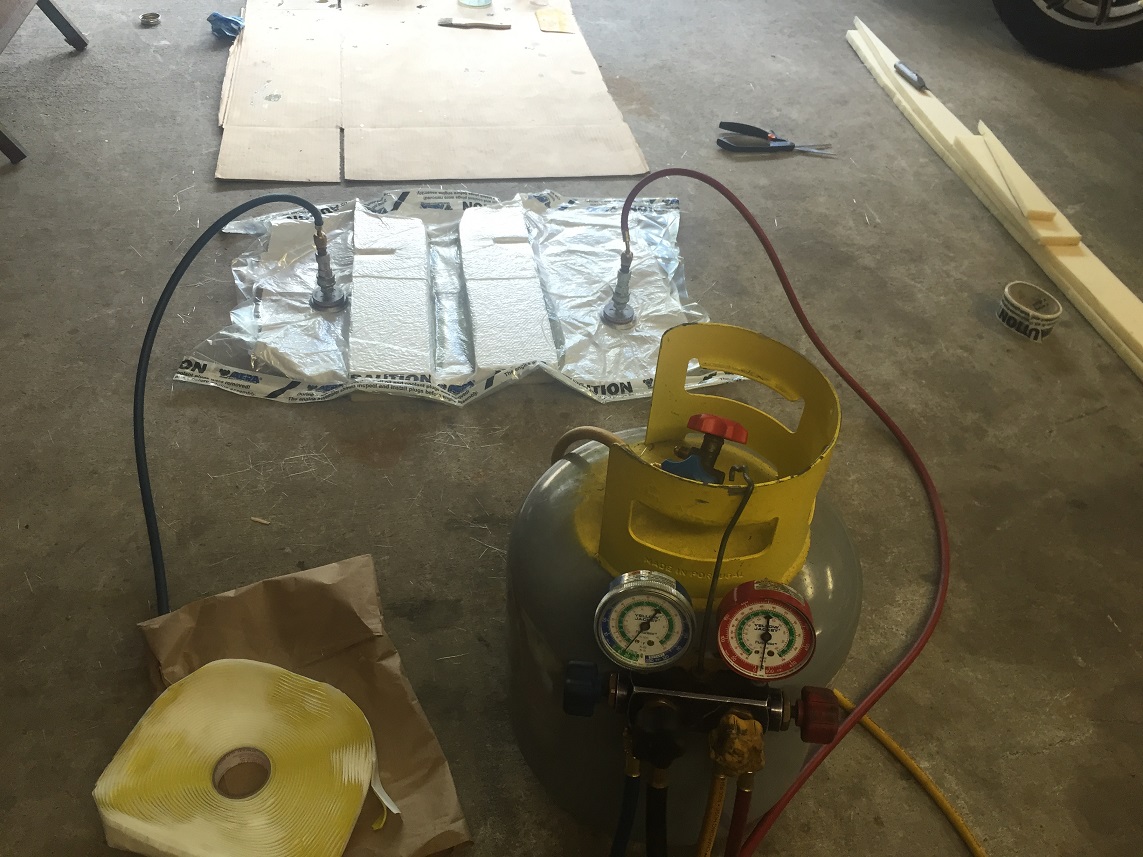
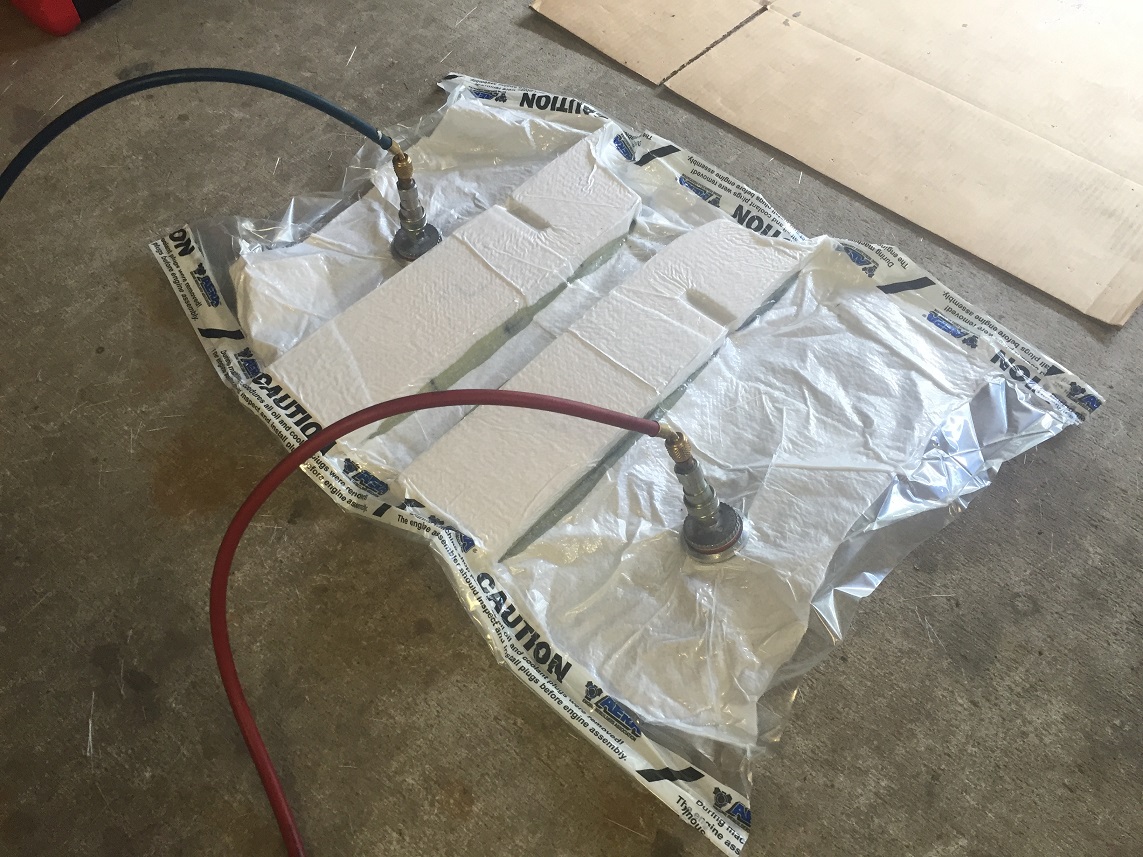
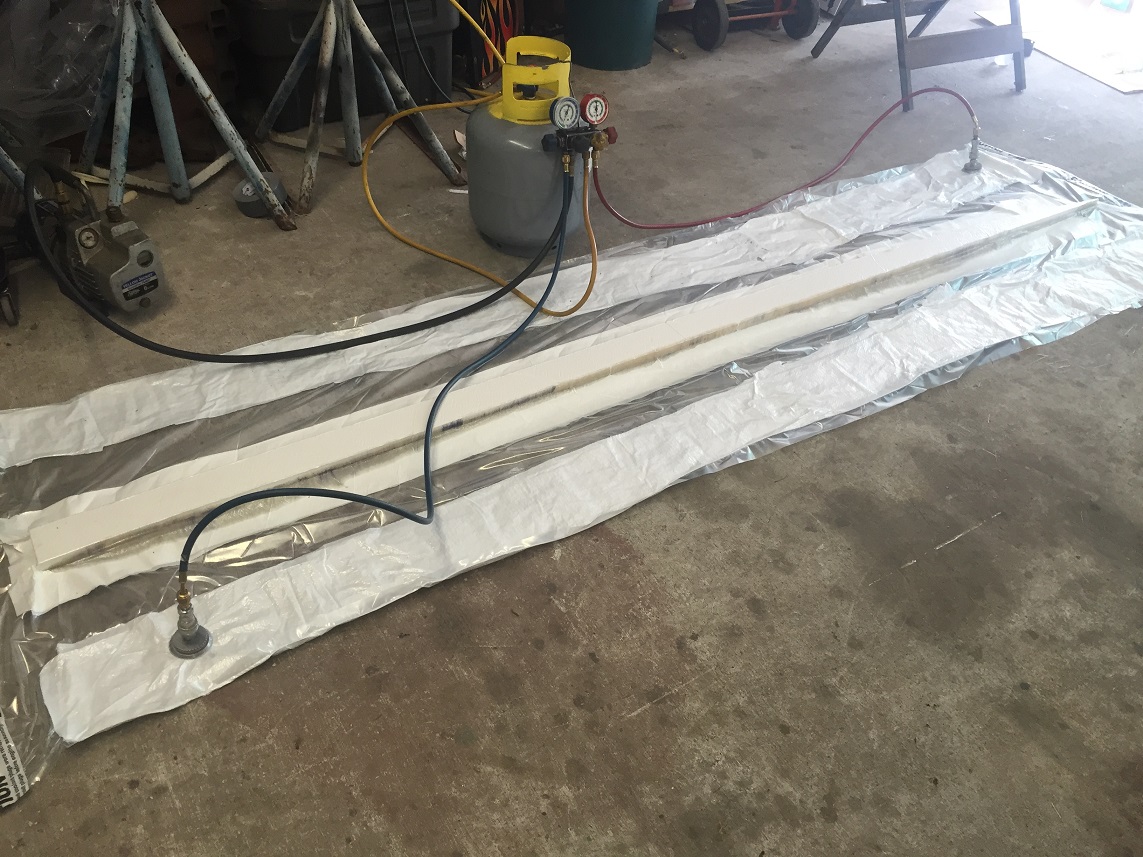
The center rib and stringer extensions are made of 2 layers of 3/4" foam that were resin'd and vacuum bagged together:


That was the easy one.  We then bagged the new center rib in a similar way:


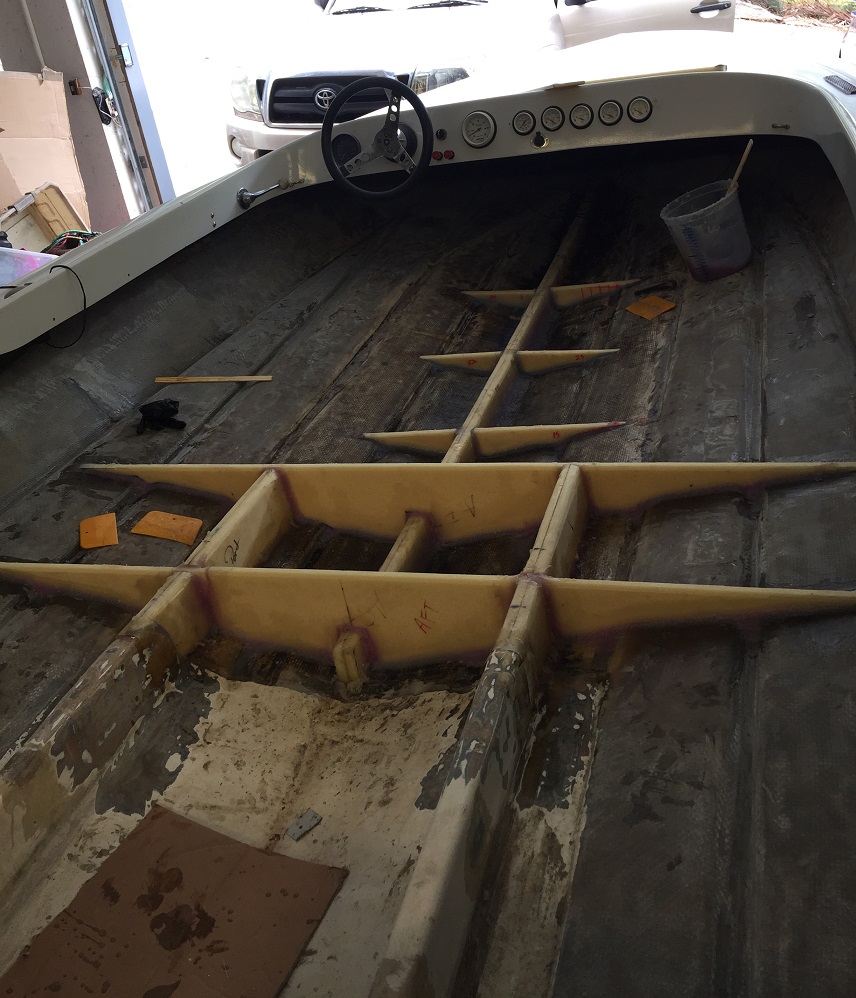
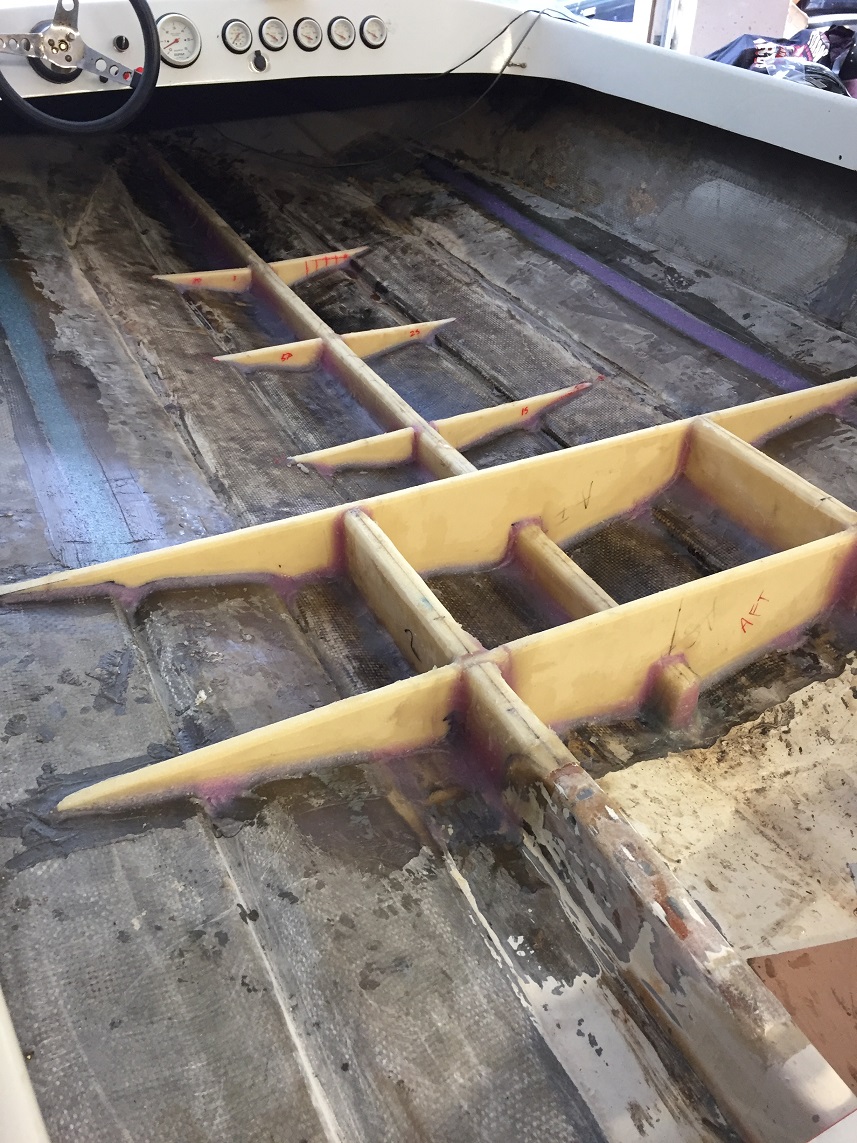
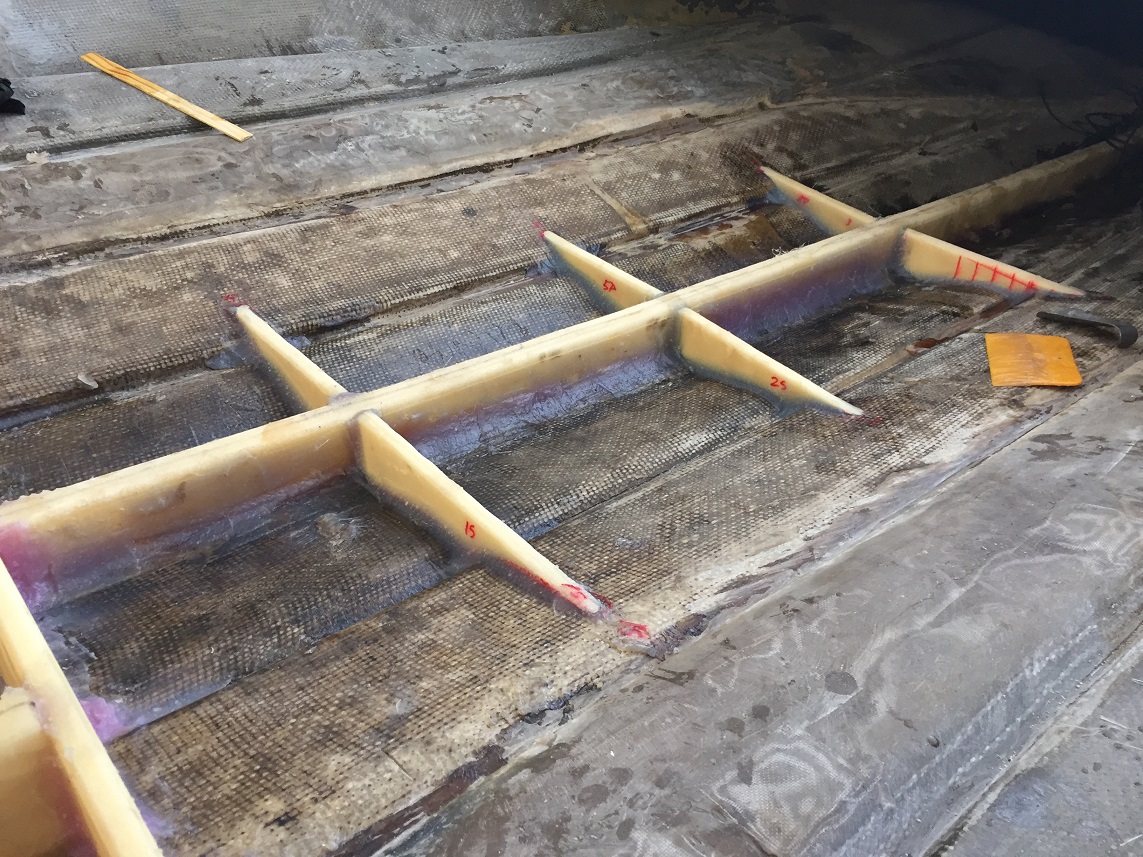
The pieces were trimmed and set in place using a mix of Aerosil filler and epoxy resin.  This is how the boat sits now waiting for me to have time to start laying mat.


That's all for now!

17
Projects / Re: '72 Tahiti Project #2
« on: December 07, 2016, 05:40:39 PM »
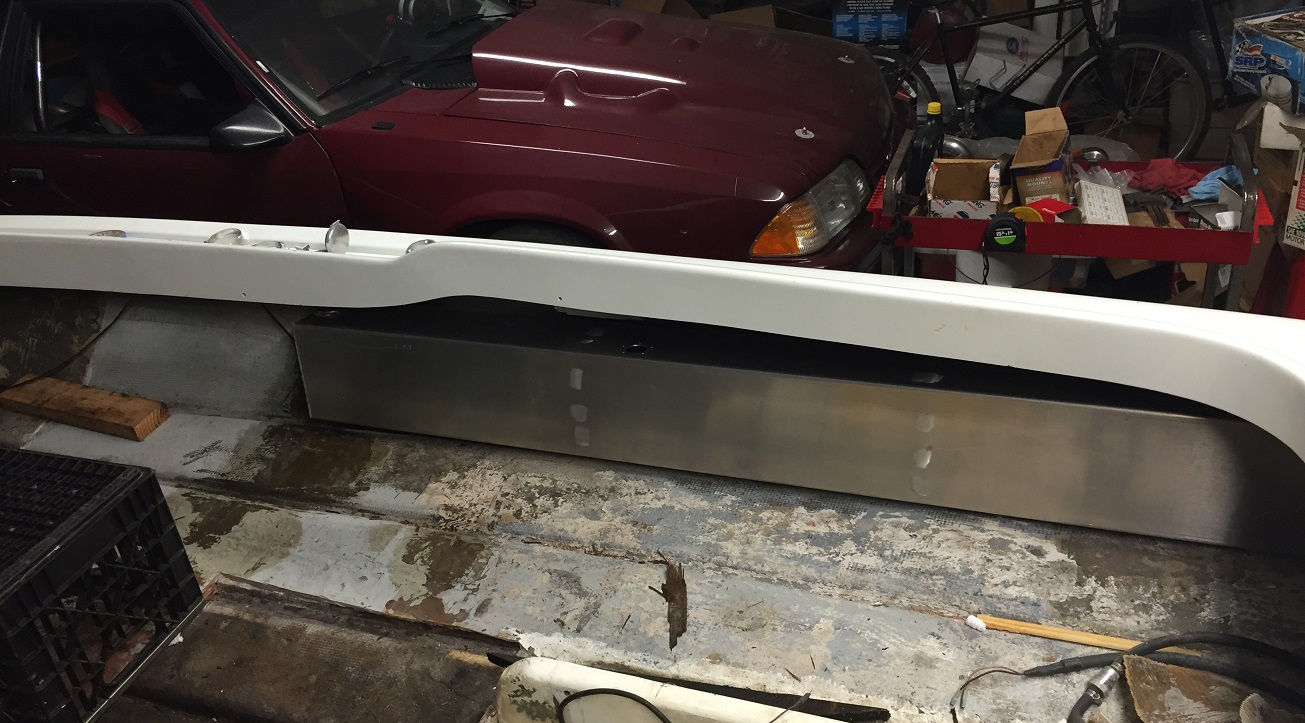
Aaaaaand here's where ASSumption can really bite you.  I ASSumed my early 70s fiberglass boat that was molded in hippie hay day was symmetrical.  The 2 tanks were made in mirror image of each other.  The side I measured fit GREAT!!


Little did I know (should have known better) the boat is over an inch different on the Port side.  Some quick rethinking was needed!  Ended up angling the filler neck and laying the tank over to fit under the gunnels.  It'll eventually be covered by a panel but it's NOT OCD compliant!  I'll live with it, but still makes me cringe to think the tank isn't vertical like it's sister:


I'll probably put a sheet of rubber between it and the hull to prevent rubbing.

18
Projects / Re: '72 Tahiti Project #2
« on: December 07, 2016, 05:33:07 PM »
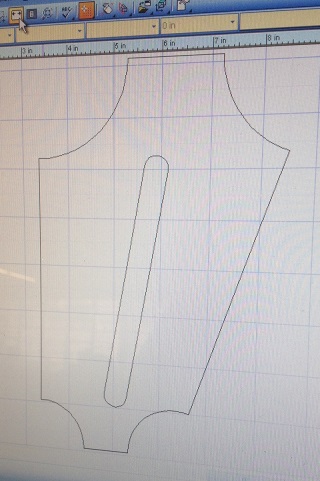
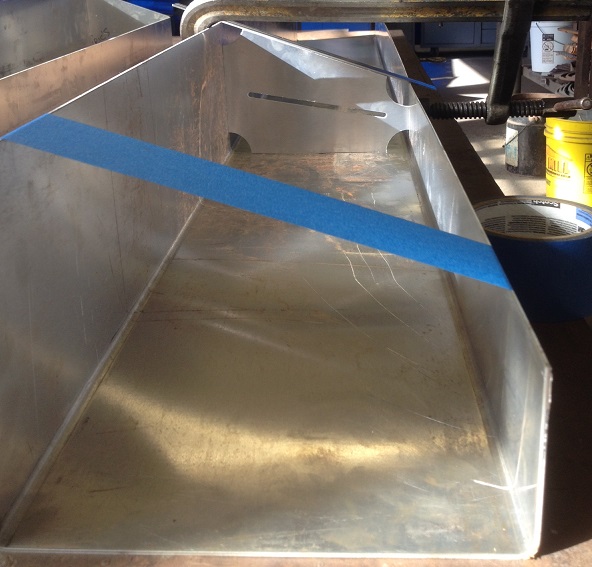
The old tanks I got turned out to be full of pin holes.  Luckily, a good friend of mine has access to a CNC plasma table, and he just happens to be a bad ass welder/fabricator.  I took some measurements, bought a sheet of aluminum and he came up with a plan.

He even designed baffles to help make the tank rigid and prevent slosh:


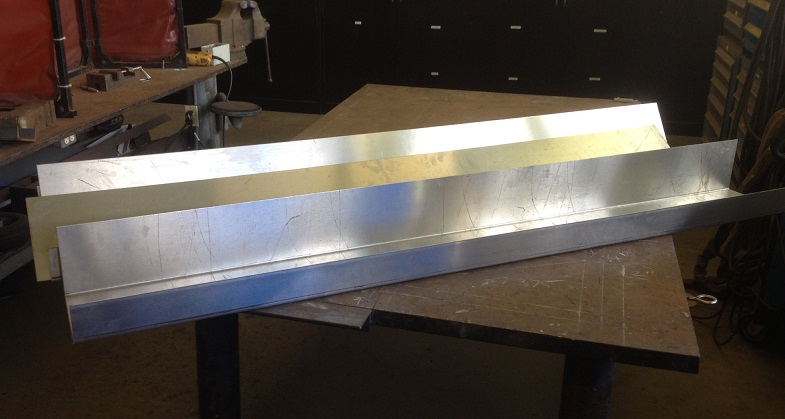
Once cut, the sheet aluminum was brake bent:


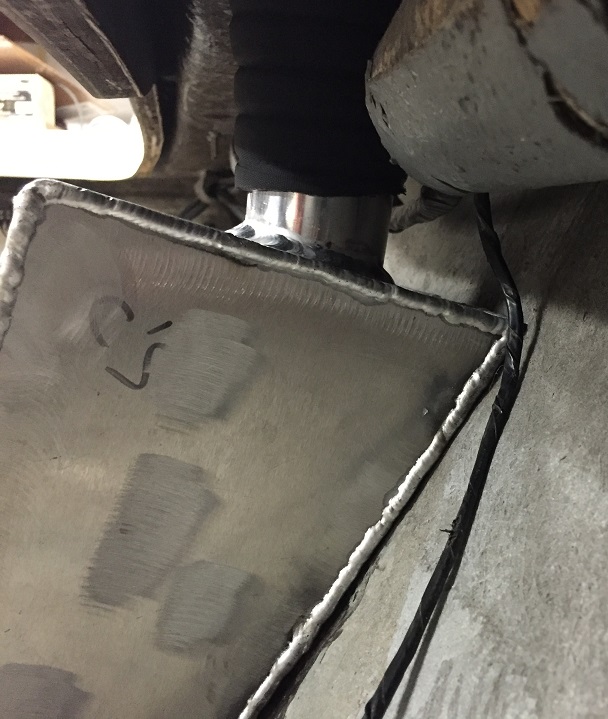
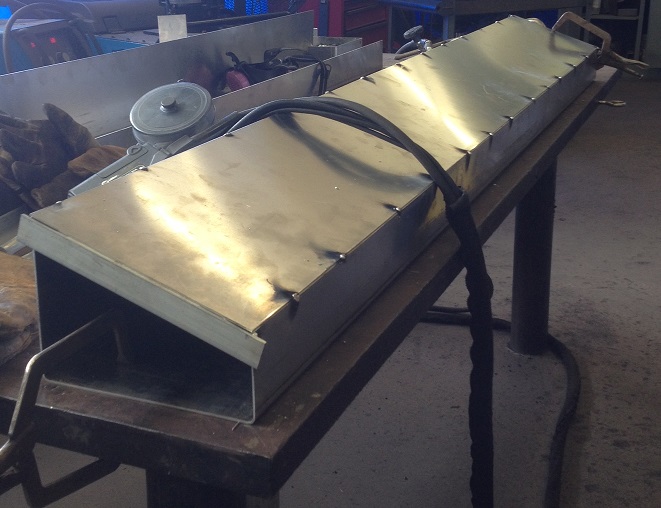
Baffle welded in place (2 per tank):


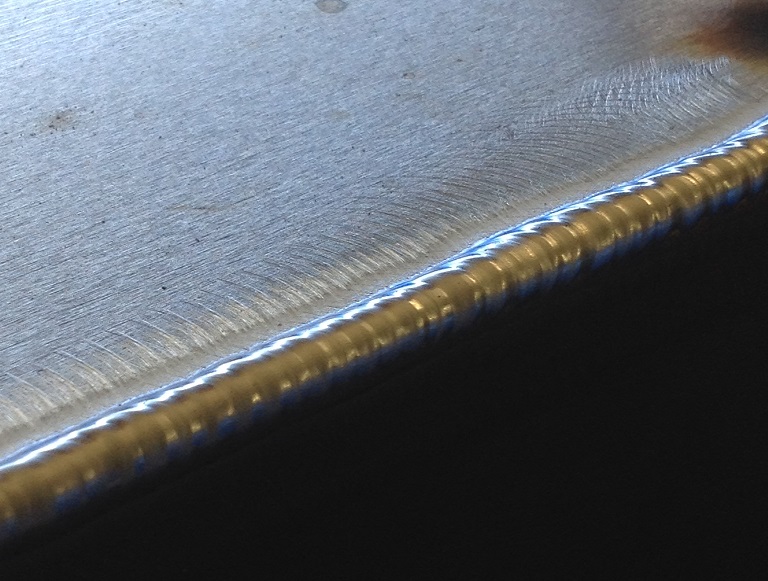
And closed up:


It's good to have friends that weld well


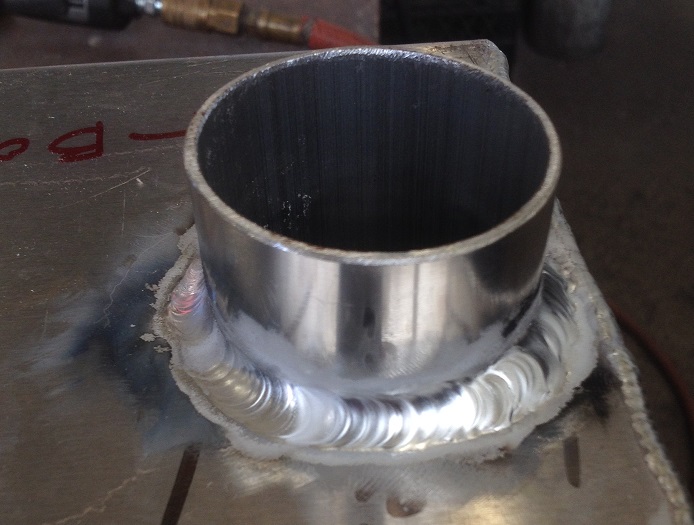
A piece of aluminum tube was secured from Amazon, cut and welded in as a filler neck:


19
Projects / Re: '72 Tahiti Project #2
« on: December 07, 2016, 05:23:59 PM »
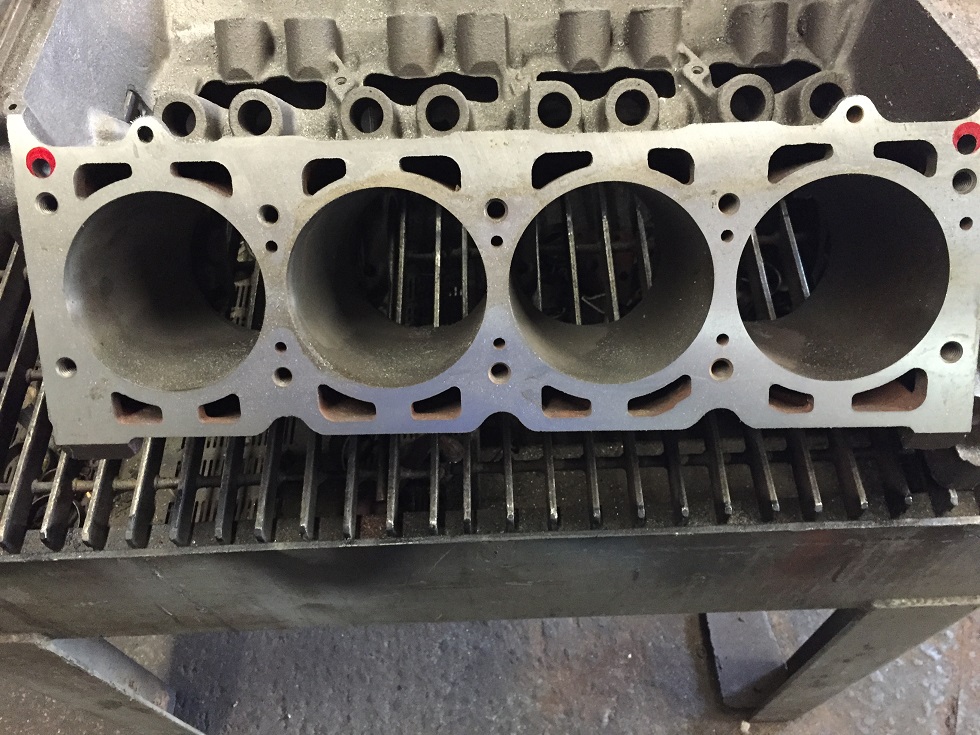
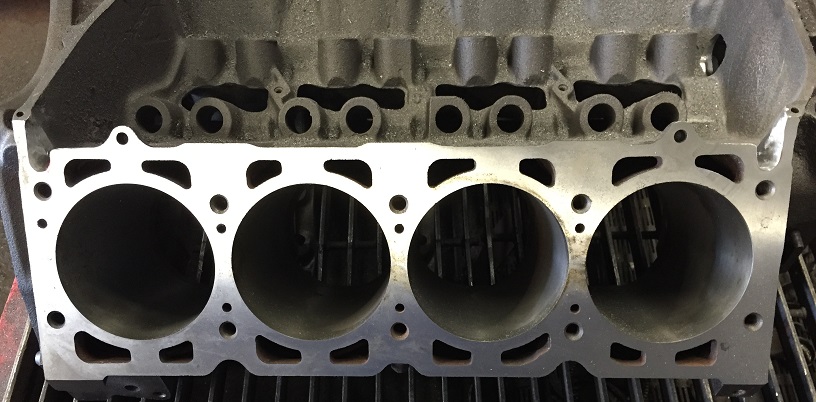
While that was going on I needed to do something positive so spent some time doing oiling mods to the Olds 455:

Used a head gasket as a template to mark where the drain back holes are located.


Might have gone a little overboard (no pun intended)


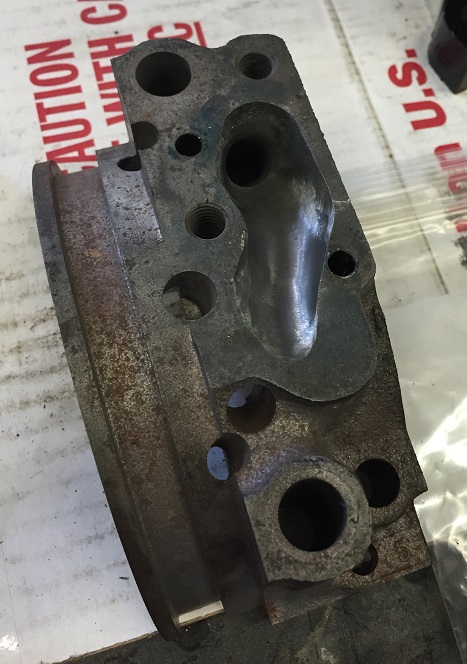
Used the oil pump as a template for the rear main cap.  Forgot to take a "before" pic but here's the "after"


20
Projects / Re: '72 Tahiti Project #2
« on: December 07, 2016, 05:11:11 PM »
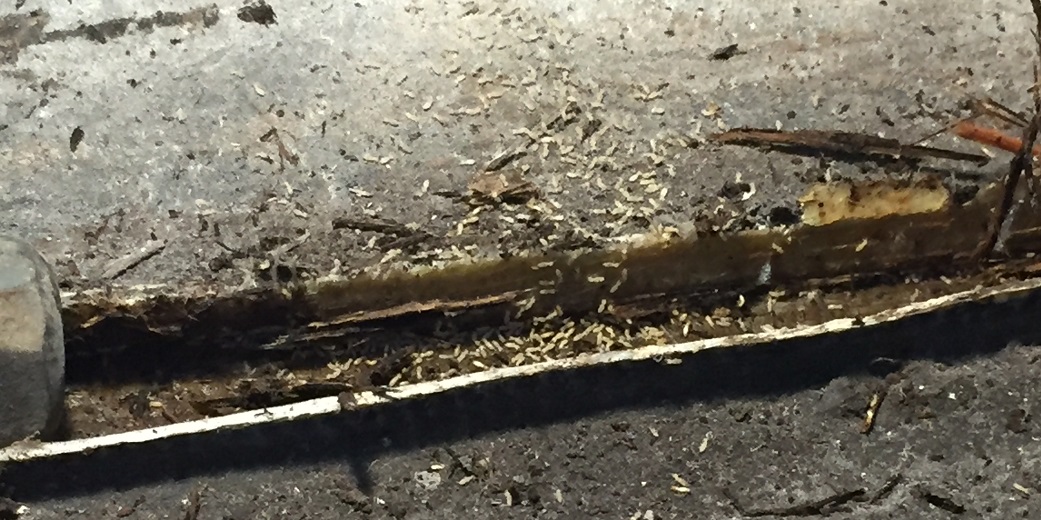
Say hello to my leetle friends!


Termites living in the floor support rib have been taken care of.  Wasn't expecting that!

21
Projects / Re: '72 Tahiti Project #2
« on: December 07, 2016, 05:08:37 PM »
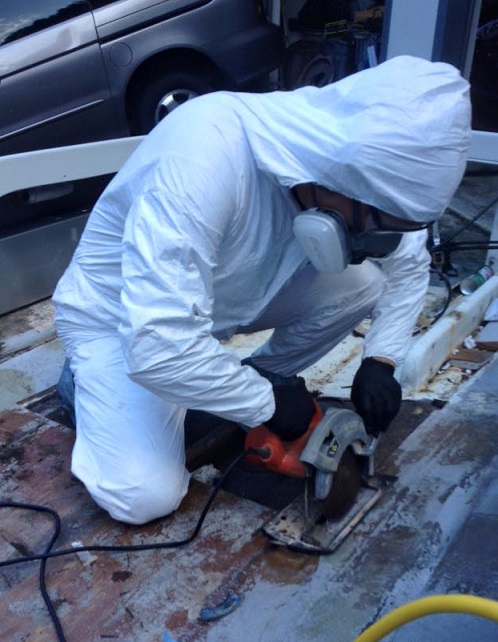
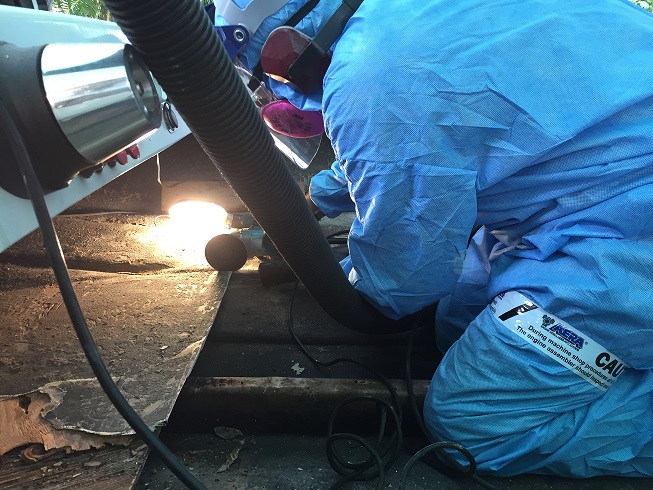
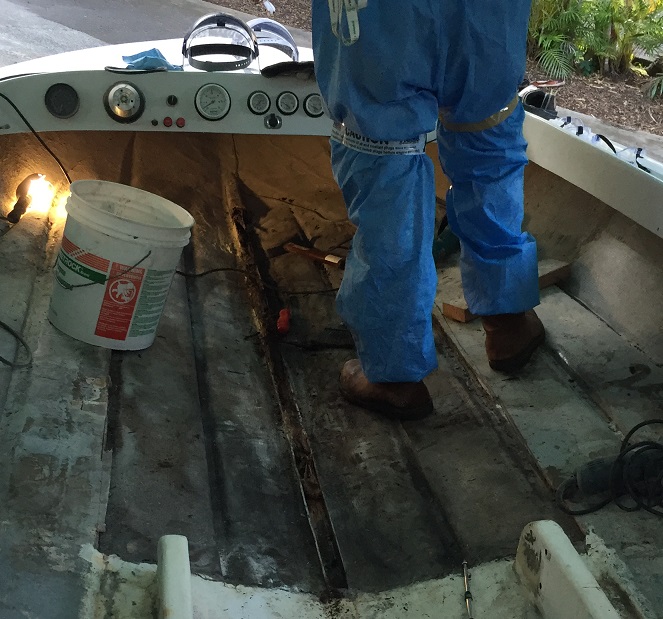
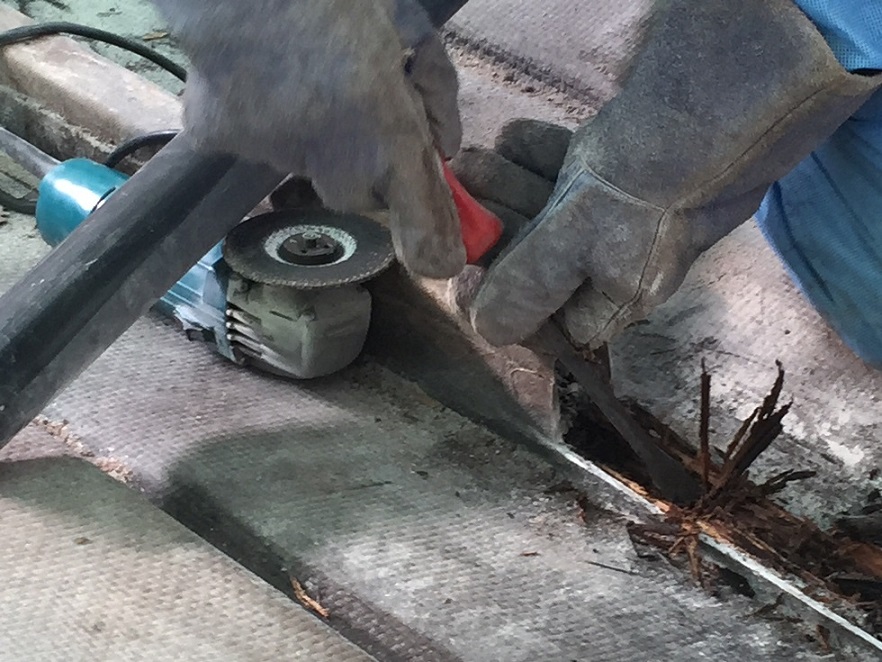
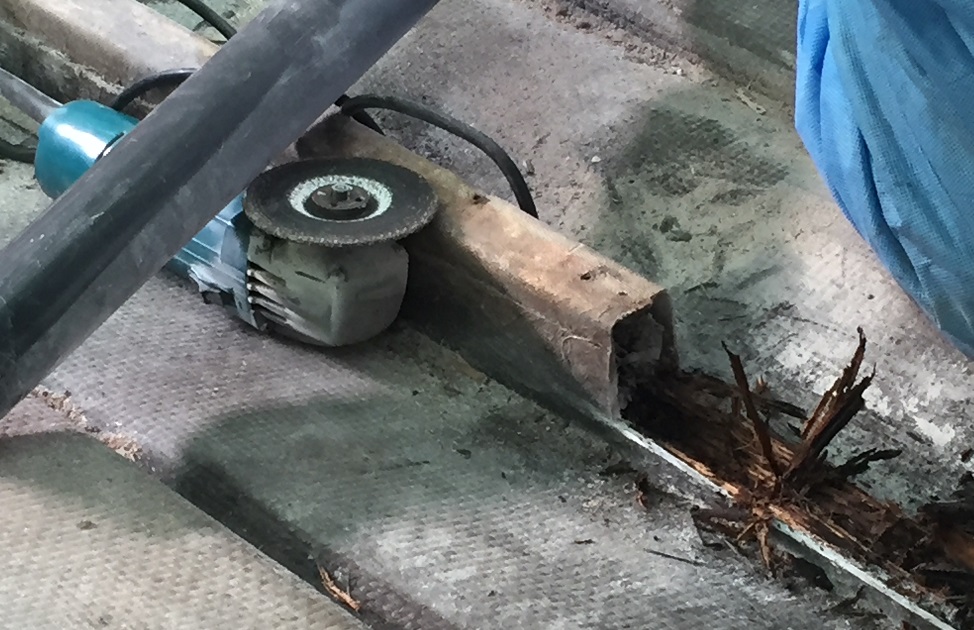
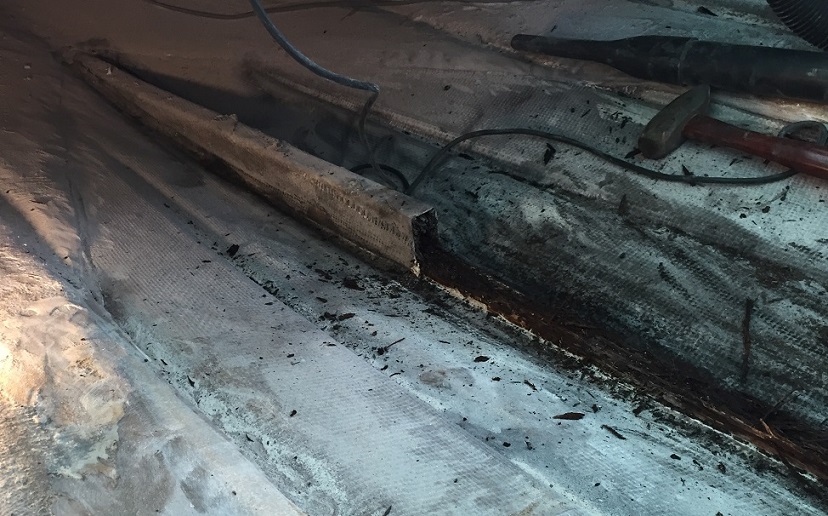
I kind of wish I was able to ignore a "small" flaw in the floor, but curiosity got the best of me.  What started as a small inspection hole quickly evolved into a 2-year project :(


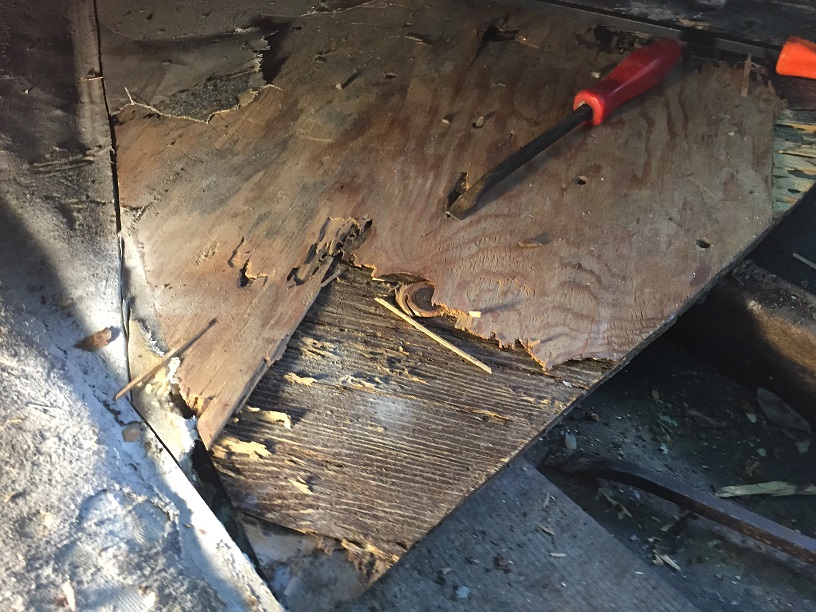
While the floor was being removed we discovered the center rib support was rotted out too.


22
Projects / '72 Tahiti Project #2
« on: December 07, 2016, 04:54:56 PM »
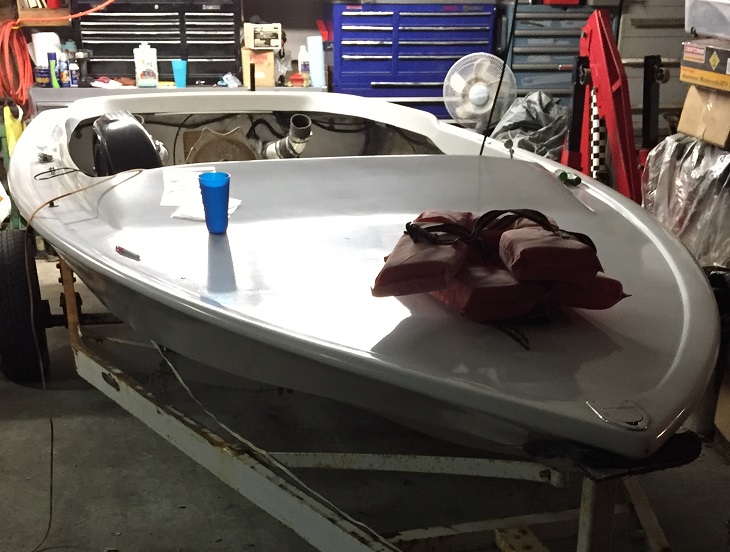
Hey what's up SCJB.  Guess it's been longer than I thought since posting about my project(s).  Started out with a '78 Tahiti bubble deck but soon traded that for a '72 Tiger that I thought was further along.  Turns out it had a soft spot in the floor I just couldn't ignore.  I'll post up some pics as time allows.  It's finally starting to go back together but my son got into Kart racing so the budget suddenly became pretty slim!

Here's what she looked like the day I brought her home:


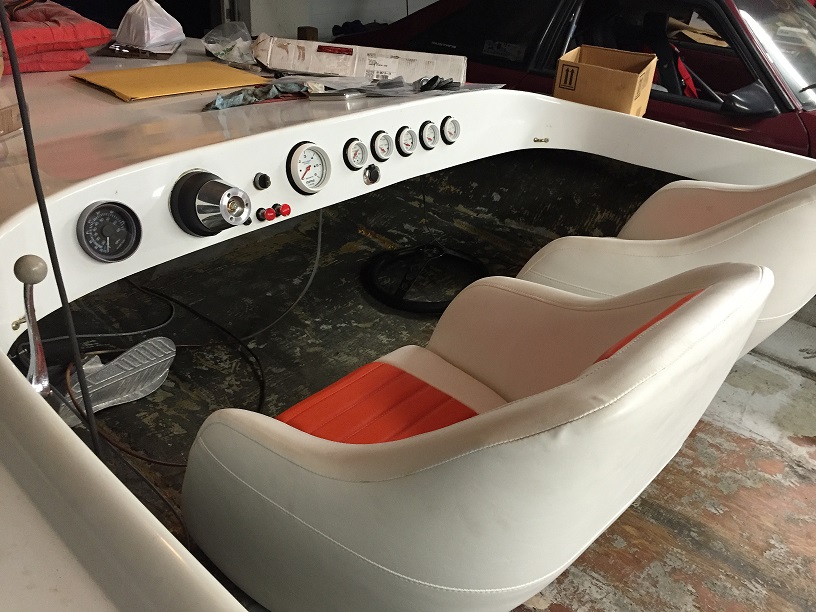
Seats aren't installed, just sitting in place:


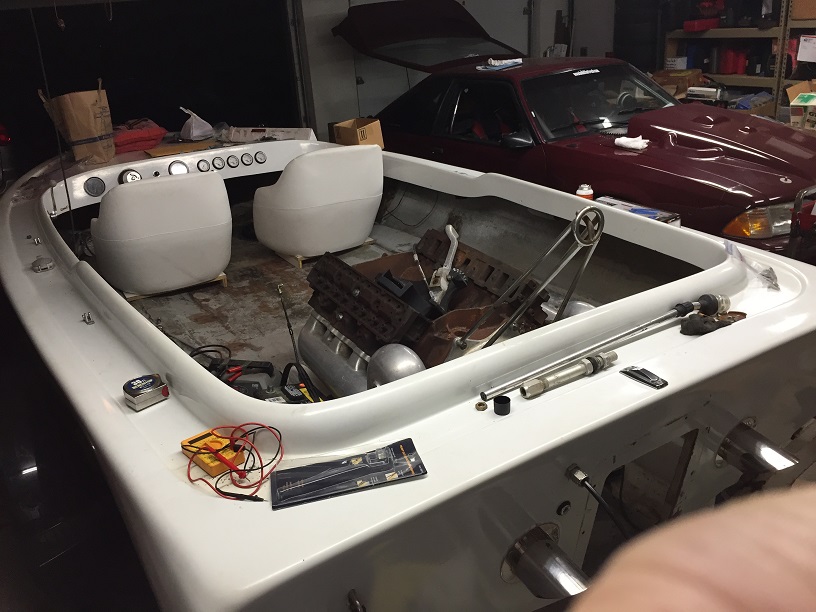
Mock-up motor we had laying around the shop to see how everything fits:


More to come!

23
Engine Mechanical / Electrical / Re: Low Revving 454
« on: October 15, 2015, 07:37:33 PM »
At idle the timing was around 20 deg advanced (I don't know for sure since the indicator stops at 16).  With the timing shunt plugged into the dist the initial timing dropped to 8 degrees, unfortunately the dist was locked in place due to corrosion so I couldn't adjust the base timing up to 12 deg (1st fail).  Knowing that I couldn't adjust the base timing I decided to check the advance as i revved the engine.  Around 3k it moved up a little but probably only up to 24 deg, this was showing total advance from 20 ish at idle to 24 ish at 3k RPM. 

Disclaimer: I've only played with BBCs in cars, not boats... what I'm about to say applies to automotive but I don't see why marine would be different.  The following is based on the distributor having a mechanical advance, not electronic...


A typical GM HEI should have more like 14-18^ or so of advance from idle (I've seen it vary from model to model) .  If base is set at 20 you should see 34-38 total at 3000-3500.  Depends on weights, springs and stoppers.  If you're only seeing a 4^ advance it sounds like the mechanical advance mechanism is stuck, possibly corroded given that distributor is locked in place to the block. 

That being said, 24^ sounds awfully low to me.  Street cars with pump gas and 10:1 compression usually run in the 32-34 range as a starting point and dial it in from there.  The 1st thing I'd do is check to make sure the advance is working correctly and try adding some timing.  Go in small 2^ increments and see how that affects the top end.  Check plugs for signs of detonation between adjustments.

I've seen this type of issue in automotive a few times and this was the answer, but like I said I've not run a BBC in a boat.  Guys with more marine experience please correct me if this doesn't apply.  :)

24
Engine Mechanical / Electrical / Re: 454 issue
« on: May 13, 2015, 04:54:25 PM »
Sorry to see your troubles!  Had a thought since the valves got smacked pretty hard... maybe think about pressure testing that head to be sure the exhaust guide isn't disturbed or damaged.  They run through the water passage in the head so if they move or crack they can leak coolant.

25
Projects / Re: 1970 Weiman
« on: May 13, 2015, 04:28:38 PM »
Whats your plan on the head steam tubes? I found some nice adapters on eBay, and after examining the factory cooling system it looks like just plumbing them to exit somewhere on the transom is all that is needed.

I'd agree with that too... IIRC on a 4th Gen they plumb back into the radiator?  Been a while since I sold mine :) 

I do recall that some cars have all 4 steam holes tied together with a skinny "H" looking pipe that sits under the intake (the very early cars IIRC), while others block off the rears and only use the front steam holes.  I don't think my FAST intake cleared the "H" line running under it so I had to change over to the later style stem tubes when I ran it. 

Pages: [1] 2 3 ... 5

Null

SMFPacks CMS 1.0.3 © 2026